Server (only On-Premises)
Installation
This documentation will guide you how to run APEX Media Extension on the following platforms:
- Linux (7 and higher)
- Windows (2012 and higher)
Hardware requirements
Following table gives an overview of the minimum requirements to run the AME Server:
| Type | AME Standard |
|---|---|
| CPU | 2 cores |
| RAM | 4GB |
| Harddisk | 2GB |
We recommend a CPU with at least 2 cores. For memory, depending the manipulations it can go up to 4GB for the standard AME version. In case you have larger documents, We recommend 2GB of harddisk space; the executable and supporting files are about 1GB and we might create some temporary files and a log and error file.
A question we often get is; does AME have to go on its own server, the database server or the application (ORDS) server?
You can choose. Having AME on the same server as the database machine is most performant and easiest as you don’t have network connections to other servers. If you install AME on its own server you can size and monitor that server better. AME on the Application server is another option, as long as the database can connect to the AME server component, the AME server doesn't need to be accessible from the outside (clients). So it’s whatever you are most comfortable with.
Installation on Linux
Download and unzip file
Log in on apexmediaextension.com and download the Linux version of AME. Copy the zip you downloaded to the server where you want to run the AME Server. Unzip the file in a directory of choice e.g. /opt/ame
# create AME directory
mkdir /opt/ame

# unzip
unzip ame_linux_v21.2_hm.zip -d /opt/ame

# create symbolic link for latest directory (see further for more explanation)
ln -s /opt/ame/v21.2 /opt/ame/latest

# give permissions to executable
chmod 755 /opt/ame/latest/server/APEXMediaExtensionLinux64
Activate and manual start APEX Media Extension
APEX Media Extension needs a valid license file. If AME doesn't find a license, it will run in Trial mode. You have all features when running in Trial mode, but AME will print a trial watermark on top of the document.
In order to activate AME, so there's no trial watermark:
- run ./APEXMediaExtension64 -a
- this will activate the software
- you have to enter the email you registered with and it will try to generate the license key. License key will be generated if you have an open connection to the internet. If there’s no internet connection, or something goes wrong with the activation, AME will generate a license request file. You can upload this license request file on your dashboard at https://www.apexmediaextension.com/. You can also contact support@apexmediaextension.com and send this generated file as attachment. We’ll send you the license file per email.
- exit AME
To start APEX Media Extension:
- go to the server directory
- run ./APEXMediaExtensionLinux64 &
On the first run of APEXMediaExtension a configuraion file, ame_config.json, is created. Customise the ame_config.json file to your needs. For example to change the port to a different port than the default 8011. See the AME Configuration section for more info.
If you encounter this error:
-------------------------------------------------
Error on Thu Feb 04 2016 19:33:35 GMT-0800 (PST)
-------------------------------------------------
listen EADDRINUSE
It means the port is already being used.
Start/Stop APEX Media Extension as a service
On Linux 7 you can use systemd (systemctl) to start and stop services. For Red Hat and Oracle Enterprise Linux you can follow the below instructions.
As user root or sudo privileged user:
# create the ame user
sudo useradd ame
sudo groupadd ame
sudo usermod -a -G ame ame

# give the ame user the privileges to the /opt/ame directory
chown ame:ame /opt/ame -R

# create ame.service
cd /etc/systemd/system
vi ame.service
Paste the following in and adjust for your installation as required. In this script, AME is installed in /opt/ame, run with the ame user which has as home directory /home/ame.
[Unit]
Description=APEX Media Extension
After=network.target

[Service]
Type=simple
User=ame
Group=ame

Environment=AME_HOME=/opt/ame/latest/server
Environment=AME_PROCESS_NAME=APEXMediaExtension
Environment=AME_EXECUTABLE_NAME=APEXMediaExtensionLinux64

Environment=PATH=/usr/local/bin:/usr/bin:/usr/local/sbin:/usr/sbin:/bin/
Environment=HOME=/home/ame
SyslogIdentifier=apexmediaextension
Restart=always
RestartSec=30
TimeoutStartSec=30
TimeoutStopSec=30

ExecStart=/usr/bin/env ${AME_HOME}/${AME_EXECUTABLE_NAME} -s ${AME_HOME}

ExecStop=/usr/bin/env pkill ${AME_PROCESS_NAME}

[Install]
WantedBy=multi-user.target
Reload the daemon
systemctl daemon-reload
A simple setup is needed to install the version of ame in /opt/ame. When you install a new version just unzip in this directory. You will end up for example with the following directories v18.2, v19.3 and v21.2. Create in the directory /opt/ame a symbolic link to point to the latest version.
ln -s /opt/ame/v21.2 /opt/ame/latest
Suppose something is not working properly and you need to revert back to your previous version, all you need to do is to change the symbolic link to point to a previous version. For example
unlink latest
ln -s /opt/ame/v21.2 /opt/ame/latest
As root
start ame               : systemctl start ame
stop ame                : systemctl stop ame
status ame              : systemctl status ame
autostart at boot       : systemctl enable ame
remove autostart at boot: systemctl disable ame
To view detailed logs of the service do:
journalctl -u ame.service
Installation on Windows
Download and unzip file
Log in on apexmediaextension.com and download the Linux version of AME. Copy the zip you downloaded to the server where you want to run the AME Server. Unzip the file in a directory of choice e.g. D:\ame
Activate and manual start APEX Media Extension
APEX Media Extension needs a valid license file. If AME doesn't find a license, it will run in Trial mode and print a trial watermark on every document.
In order to activate AME:
- Open Windows Powershell or Command Prompt
- Navigate to the location where the APEX Media Extension server is located.
- run APEXMediaExtensionWin64 -a
- You will have to enter the email you registered with and it will try to generate the license key. License key will be generated if you have an open connection to the internet. If there’s no internet connection, or something goes wrong with the activation, AME will generate a license request file. You can upload this license request file on your dashboard at https://www.apexmediaextension.com/. You can also contact support@apexmediaextension.com and send this generated file as attachment. We’ll send you the license file per email.
To start APEX Media Extension:
- go to the server directory
- run APEXMediaExtensionWin64
On the first run of APEXMediaExtension a configuraion file, ame_config.json, is created. Customise the ame_config.json file to your needs. For example to change the port to a different port than the default 8011. See the AME Configuration section for more info.
Running as Service in Windows
-
Navigate to WindowsService folder situated in the APEXMediaExtension folder.
-
Edit 1_SetupAsService.bat to include the full path to the executable APEXMediaExtensionWin64.exe
Note that you can also add additional parameters for example for the port it should run on and the starting directory.
terminal nssm.exe install APEXMediaExtension %0\..\..\APEXMediaExtensionWin64.exe --port 8090 -s D:\apexmediaextension -
Run 1_SetupAsService.bat.
-
The service should be installed and can be seen in Services (Control Panel > Administrative Tools > Services).
-
To change how the APEXMediaExtension service starts you can change it from Services or start it manually via 2_StartService.bat (should be run as Administrator).
-
To check if the service has started, navigate to http://localhost:8011/
-
To stop the service run 3_StopService.bat as Administrator or stop it from Services.
-
To remove APEXMediaExtension as service run 4_RemoveService.bat.
-
The APEXMediaExtension service should now be removed from Services. If it says Disabled then it will be removed after the service has been stopped.
Configure APEX Media Extension
APEX Media Extension can be configured through the ame_config.json file or through parameters when AME is being started.
Server Options
To view all available option, run ./APEXMediaExtensionLinux64 -h
Following parameters can be used:
    -p, --port           Port to run AME on
                       [default: 8011]                                  [number]
  -m, --maipulator     Image manipulator to use by default
                       [default: sharp]               [choices: "sharp", "jimp"]
  -h, --help           Show help                                       [boolean]
  --license            Location for AME license
                       [default: ./ame_license]
  --silent             Start AME silently without any logs on the console
                       (output stream).
                       [default: false]
  --enable_access_log  Will enable the logging of incoming request.
                       [default: true]
  --https_key          They key file for https configuration.
                       [default: none]
  --https_cert         The crt file for https configuration.
                       [default: none]
  --https_port         The port for https.
                       [default: none]                                  [number]
  --ipwhitelist        The path of ipwhiltelist file.
                       [default: ./ipwhitelist.txt]
  --max_request_size   The maximum size of incoming request to handle in mb.
                       [default: 100]
  -a, --activate       Activates the software with the given email address.
  -v, --version        Show version number                             [boolean]
  -i, --instances      The number of instances of AME to start.
                       [default: 1]                                     [number]
AME can also use a config file. These options can be saved in this config file. If no config file is there, AME generates the config file in the first run. This configuration file is of JSON format. The default configuration is as follows:
{
    "port": 8011,
    "license": "./ame.license",
    "silent": false,
    "enable_access_log": true,
    "instances": 1,
    "https_key": "aop.key",
    "https_cert": "aop.crt",
    "https_port": false,
    "ipwhitelist": "",
    "max_request_size": 200,
    "maipulator": "sharp",
    "disable_static_key_ciphers":true
}
IP Whitelisting
The ipwhitelist option should provide the location of the file containing the list of IP addresses that need to be whitelisted separated by a newline.
Allowed patterns
    IP (IPv4/IPv6)
        Regular IPv4: 10.0.0.0
        Wildcard IPv4: 10.0.0.* or even 10.*.0.*
        Regular IPv6: 2001:0db8:85a3:0000:0000:8a2e:0370:7334
        Shortened IPv6: 2001:db8:85a3::8a2e:0370:7334 or ::abc or abc::
        Wildcard IPv6: 2001::* or even 2001::*:abc:*
        Not allowed: 10.0.1*.0 or 2001::a*c
    IP Range
        IPv4: 10.0.0.0-10.1.2.3
        IPv6: 2001::abc-2001::1:ffff
        Note: Left side has to be "lower" than the right side
    IP Subnetwork
        IPv4: 10.0.0.0/16
        IPv6: 2001::/64
HTTPS Configuration
AME can be configured as an HTTPS server. It requires a crt file and its private key file.
A self-signed certificate and key can also be used. The certificate can be generated by using openssl command:
openssl req -x509 -newkey rsa:2048 -keyout keytmp.pem -out ame.crt -days 365
openssl rsa -in keytmp.pem -out ame.key
Given ame.crt certificate file and ame.key private key file AME can be started with:
APEXMediaExtension --https_cert ame.crt --https_key ame.key
The port number can also be specified with the --https_port argument. If this is provided the server will run in HTTP and HTTPS mode.
You should see the following when started successfully on the console.
Starting HTTP and HTTPS on port 8011 and 443
AME 1 (HTTP) running
AME 1 (HTTPS) running
Please note that the certificate validation is done by the client. If you are using a self-signed certificate and visit the https location with browser, you will get a security warning (see below).
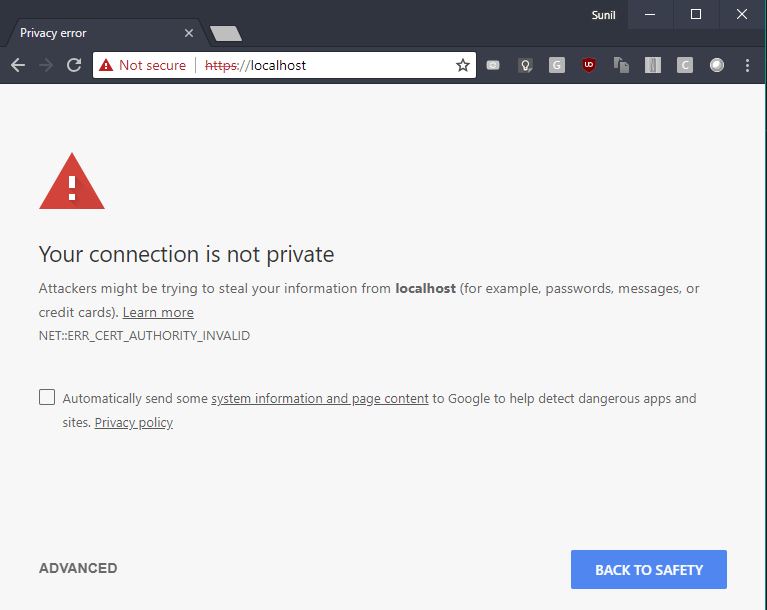
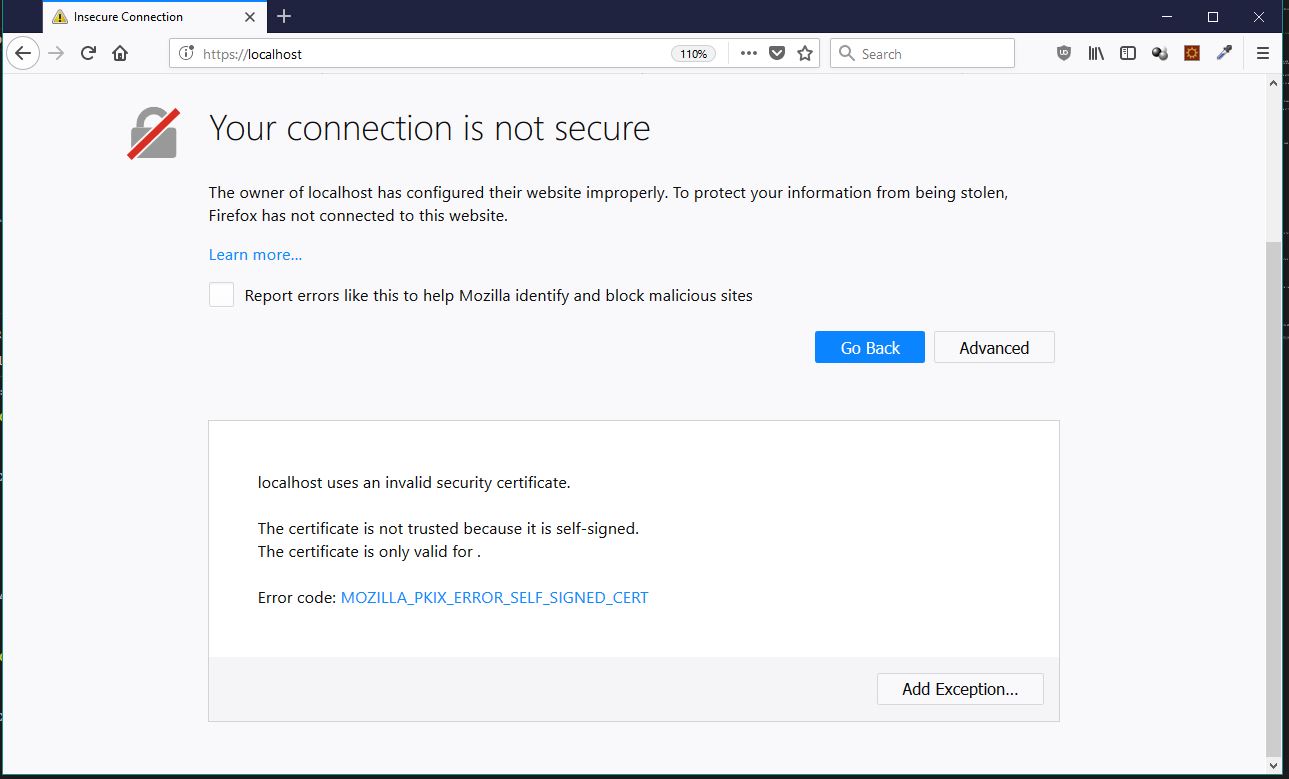
You can configure the browsers to trust the self-signed certificate by adding it to the security exception. You will also have to add this certificate in your Oracle wallet to get rid of 'Certificate Validation Error'.
SSL with Reverse Proxy.
For older versions however we recommend setting up an Apache Reverse Proxy which is doing the SSL in front of AME. From Apache to AME it would be unencrypted, but if it’s on the same machine as Apache and the port of AME is not open and only accessible by localhost, we believe you're safe.
To prevent access to AME other than the Apache Reverse Proxy, you can do (on Linux):
firewall-cmd --zone=public --add-port=8011/tcp --permanent
firewall-cmd --reload

iptables -A INPUT -p tcp --dport 8011 -s 127.0.0.0/8 -j ACCEPT
iptables -A INPUT -p tcp --dport 8011 -j DROP
(instead of DROP you can use REJECT too)
So that would mean only a program on localhost (like Apache) can connect to port 8011, all others are rejected.
Testing the connection to AME
Make sure the database server can connect to the port where AME is running. If not, open the port so the database server can connect to the webserver:port (note you don't need to open it up to everybody, just the database server is fine)
For example by running curl webserver:port (curl can be downloaded for free for windows via https://curl.haxx.se/download.html#Win64)
FAQ On Installation
-) What kind information is sent while activation?
When you try to activate the product, AME will ask for the registered email. Afterwards it looks at the UUID/GUID of the machine, this is:
For Windows:
MachineGuid key in registry HKEY_LOCAL_MACHINE\SOFTWARE\Microsoft\Cryptography
For Linux:
/var/lib/dbus/machine-id
The machine id is then hashed using sha-256.
The following content after encryption is sent to the AME license server:
{
"email": "provided-registered-email",
"mid": "sha-256 hashed machine-id",
"version": "AME version getting activated"
}
Since SHA-256 is a one way function, it is impossible to derive the actual machine id from the given hash. No actual IP address, hostname, serial number, MAC address or any other hardware information are exposed.
-) Does AME on-prem version require internet access to activate/run?
During the activation, AME will try to connect to our license server. If this fails, AME will generate a license request file that can be uploaded to our website in order to get back the license file. This license file should be placed in the same folder as the AME executable.
In short, AME does not require internet access to be activated and to run.
High Available configuration of AME
There are multiple ways to achieve high availability.
Application Level
First of all you can run AME in multiple instance using -i argument. Running in -i 0 will spawn a number of AME instances equal to the available cores of the system. AME itself has a manager built in. If one of the instances for some reason should exit another one will be started. This is equivalent to PM from node.js
Server level
Here you can run multiple servers and put a load balancer which will divert the call between multiple running servers. Ideally you can use AWS auto scaling like we do. This will spin up a new instance depending on the load. Please note that if you use AME on this way, you will need licenses for the max number of instance you would like to spawn.
Our AME Cloud for example is configured to run 4 instances, together with auto scaling for up to 4 machines. The new machines will be started in one of the 3 EU regions provided by AWS. This is to ensure that clients will still have access to our API in case of regional blackouts.